How to make your first manga page in your browser
A manga page has its own rules: it reads from right to left, balloons are tall and narrow and speed lines set the pace. This guide takes you from a blank page to a PDF for print, using the comic tools in GalionToon.
The page
- Open galiontoon.com, go into Galion Photo and choose File → New. In Comic / Manga, pick Manga B5 and click Create.
- You will see three lines: the trim (pink), the safe area (green) and the panel frame (blue). The guide Comic and manga page sizes explains each one.
The panels
- Press and hold the comic group button in the toolbar and choose Panels.
- In the top bar, set the reading order to ← Manga: panel numbers will follow the Japanese order, right to left and top to bottom.
- Click Grid…, choose 2 columns and 3 rows, and Create. The panels are placed inside the blue frame.
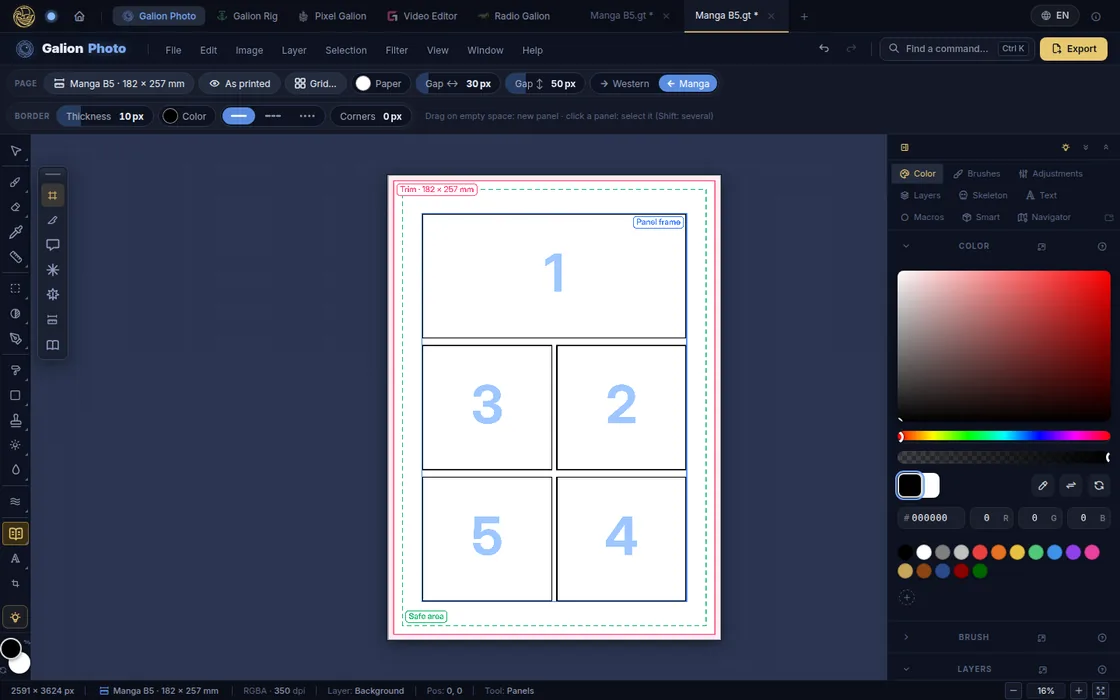
With the reading order set to Manga, panel 1 is the top right one. - Shape the page:
- drag a gap to resize the panels of a row or a column;
- with two panels selected (Shift+click), Join panels merges them into one;
- Split panel cuts one in two with a line, diagonal ones too;
- To the bleed takes a panel out to the edge of the paper, for a full-bleed image.
The drawing
- Create a new layer in the Layers panel and keep it below “Panels”. Draw with the Brush (B key).
- For backgrounds in perspective, click Assistants in the brush bar: ruler, symmetry and 1, 2 or 3-point perspective.
- For the flat shading of manga, the Screentone checkbox in the Layers panel turns the grays of a layer into halftone dots, with their frequency and angle.
The balloons
- In the comic group, choose Speech balloon and a style in its bar.
- Drag to draw the balloon and type. In an English edition, the text runs horizontally inside tall, narrow balloons, like manga balloons. The balloon grows if the text does not fit. Ctrl+Enter finishes.
- Drag the blue dot of the tail to the mouth of whoever is speaking.
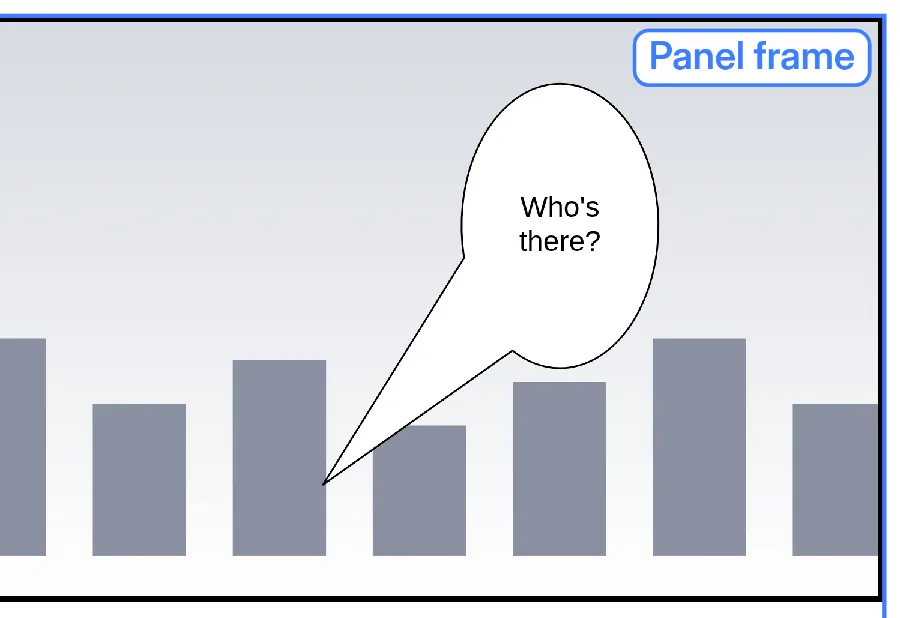
A tall, narrow balloon with its tail towards the speaker. - If you write in Japanese, set the text to Vertical: columns run from right to left, with the right marks rotated.
- If a balloon sticks out of the safe area, it turns orange: move it towards the center, or the trim may take it.
Speed lines and sound effects
- Choose Speed lines, the Focus type and a style. Click inside the panel and drag from the center outwards: what you drag is the empty middle. The lines stay inside that panel.
- Choose Sound effect, type the word in its bar (or pick one from the list, Japanese ones included) and drag on the canvas from where the sound starts to where it ends.
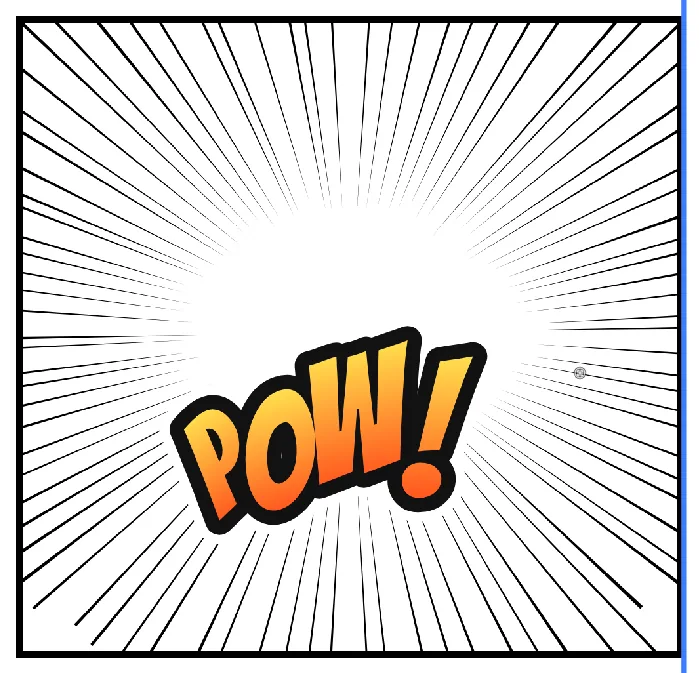
Focus lines and a sound effect in the Impact style.
Save and export
- Save with File → Save: the .gtphoto file keeps the layers, panels, balloons and text so you can carry on tomorrow.
- See the page as it will come out with View → View as printed: everything outside the trim is covered.
- Export with File → Export As… as PDF with the With bleed area. If something is outside the safe area, the check tells you first.
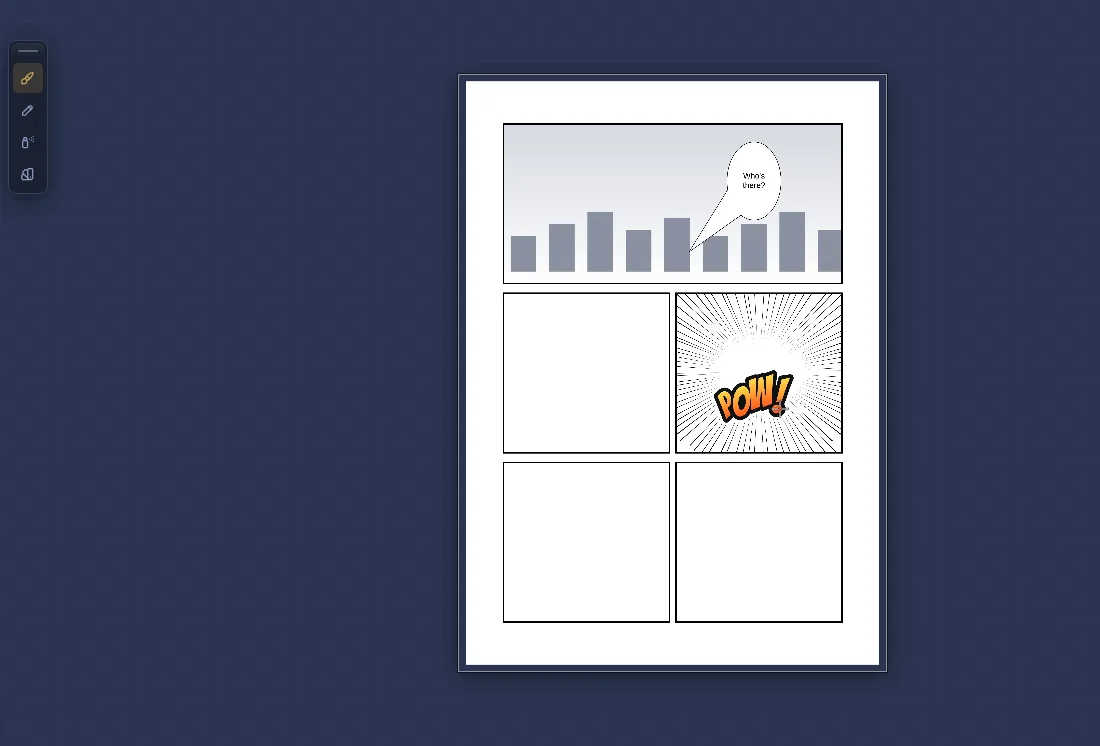
The page viewed as printed, ready to export.
Going for page two? With File → Page book → New book… this page becomes the first page of a book: the others are created with the same format, shown in spreads as they will be read and exported together.
Common problems
- Panel numbers go from left to right. The reading order is set to Western. In the Panels bar, click ← Manga.
- I paint and the stroke does not show. You are painting outside a panel, which is covered, or the “Panels” layer is selected: in that case the stroke goes to the layer below, with a warning. Select your drawing layer in Layers.
- The tail does not move, another balloon is created. Drag from the blue dot at the tip. Dragging on empty space creates a new balloon.
- The speed lines cover the character. They are created above the drawing. Move them below the character layer in the Layers panel.
Common questions
Do I have to draw on B4 like magazine artists? No. Digitally, draw at the size it will be printed. B5 at 350 ppi is the usual choice.
Can I write in Japanese? Yes, with your device keyboard, and vertically: vertical text rotates the marks that need it (brackets, dashes, ー) and puts 、 and 。 in their place. It uses the Japanese font your system has.
Can I print it at home? Yes: export the PDF “Up to the trim” and print it at 100 %. For a fanzine, ask the print shop to cut along the crop marks.
Does it work on a tablet? Yes, with a finger or a pen. The comic tools have large handles for fingers, and the bars use sliders you drag.
More guides
- How to make a vertical webtoon to read on a phone5 min read
- Speech balloons and speed lines for your comic5 min read
- Comic and manga page sizes: B5, A4, comic book and webtoon5 min read
- How to import your custom brushes4 min read
- How to remove the background from a photo in your browser5 min read
- How to open and save a PSD file in your browser4 min read
- How to make your first animated pixel art3 min read
- How to add subtitles to a video in your browser3 min read
- How to edit your first video in your browser4 min read
- How to make a YouTube thumbnail for free in your browser4 min read
- How to crop a photo into a circle for your profile picture4 min read
- How to put text on a photo so it can be read4 min read
- Layer masks: what they are and how to use them4 min read
- How to resize an image for social media without losing quality4 min read
- How to make an Instagram post step by step4 min read
- How to create a sprite sheet for a video game4 min read
- Free fonts for commercial designs: how to choose them5 min read
- How to animate a character with bones in Galion Rig4 min read
- How to convert a drawing or a logo into a vector (SVG)4 min read